How to Get Up and Running with LLM's locally using OLLAMA
In this post, we'll explore how to get started with Ollama, a powerful tool for running Large Language Models (LLMs) locally. With Ollama, you can enjoy the benefits of AI-driven language processing without relying on cloud services or complex infrastructure setup. We'll take a hands-on approach and walk you through the process of installing Ollama and setting up your own LLM environment. Additionally, we'll delve into integrating Open WebUI, a versatile framework for building web applications, to create a seamless experience. Whether you're a developer, researcher, or just curious about AI-powered language processing, this guide will help you get started with Ollama and unlock its potential.
You can run Llama 3, Phi 3, Mistral, Gemma, and other models right on your home PC or laptop, working offline without sharing your data with any third party, and for FREE. There are many ways to run a large language model (LLM) locally, but I will share with you the best and possibly the easiest method, as the title suggests, using Ollama.
As a small disclaimer, there is one caveat, you need a somewhat modern powerful PC or MacBook, otherwise it's going to run terribly slow. If you want to build a machine specifically for your own home-based AI machine, you can use this doc as a guide for what hardware supports Ollama the best.
Step 1
First, we need to navigate over to https://ollama.com/ and download the executable installer for our operating system. It is available for macOS, Linux, and Windows. I have had a good experience on Windows and Linux, so no need to use any special docker containers or WSL etc. You can also find the source code here. Go through the install process then open a terminal for your system.
Once Ollama has finished installing, it should be running. The next step is that you need a model (LLM) to interact with. Navigate to models and select a model that you want to use. For this post, I will use llama3.
Step 2
Open your terminal and type:
ollama run llama3
Once it finishes your command prompt will look like this:
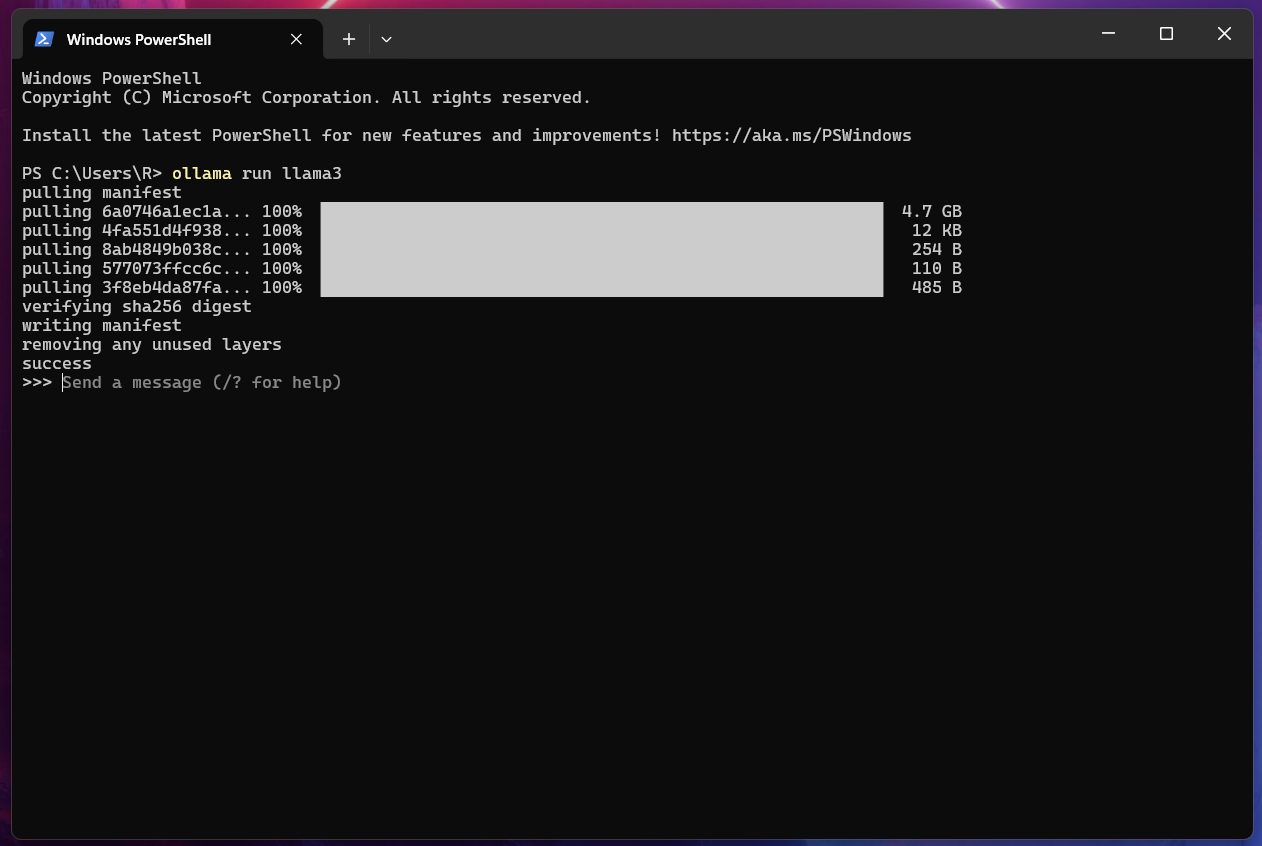
Now you can send your first message! You can also type / ? for help, and / bye to exit.
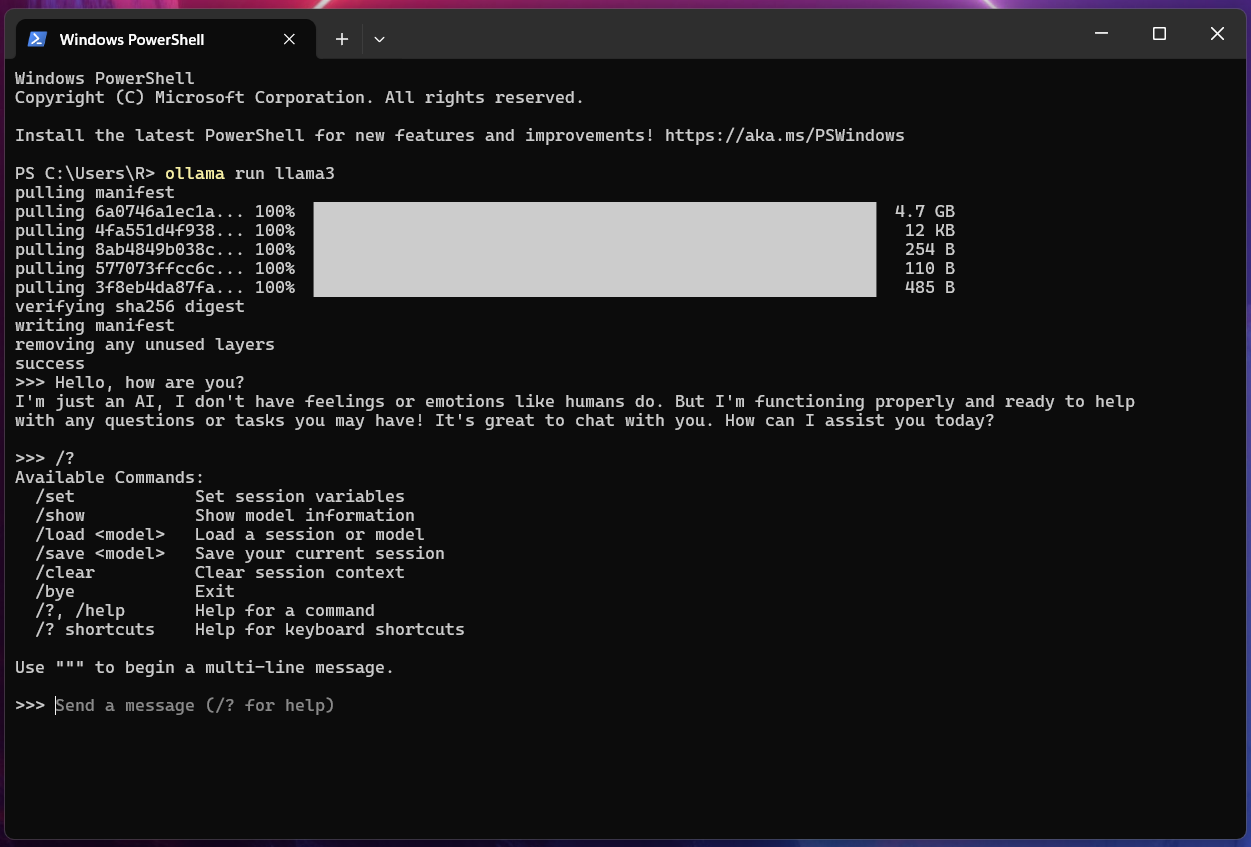
Now that's really cool! 😄
But I want to take it a step further, let's introduce Open WebUI, an extensible, feature-rich, and user-friendly self-hosted WebUI designed to operate entirely offline. There are a few ways to run Open WebUI, and they recommend docker, but my preferred method is to build and install. The instructions are found here, but we will go through it together.
Step 3
There are 2 parts, the frontend and the backend (which serves as a reverse proxy, handling static frontend files, and additional features). Both need to be running concurrently. The requirements are Node.js and Python, if you don't have them installed you have to install them first.
Build and install
Run the following commands to install:
git clone https://github.com/open-webui/open-webui.git
cd open-webui/
Copy required .env file
cp -RPp .env.example .env
Building frontend using Node
npm i
npm run build
Serving Frontend with the Backend
cd ./backend
pip install -r requirements.txt -U
I used a virtual environment, venv for my system.
bash start.sh
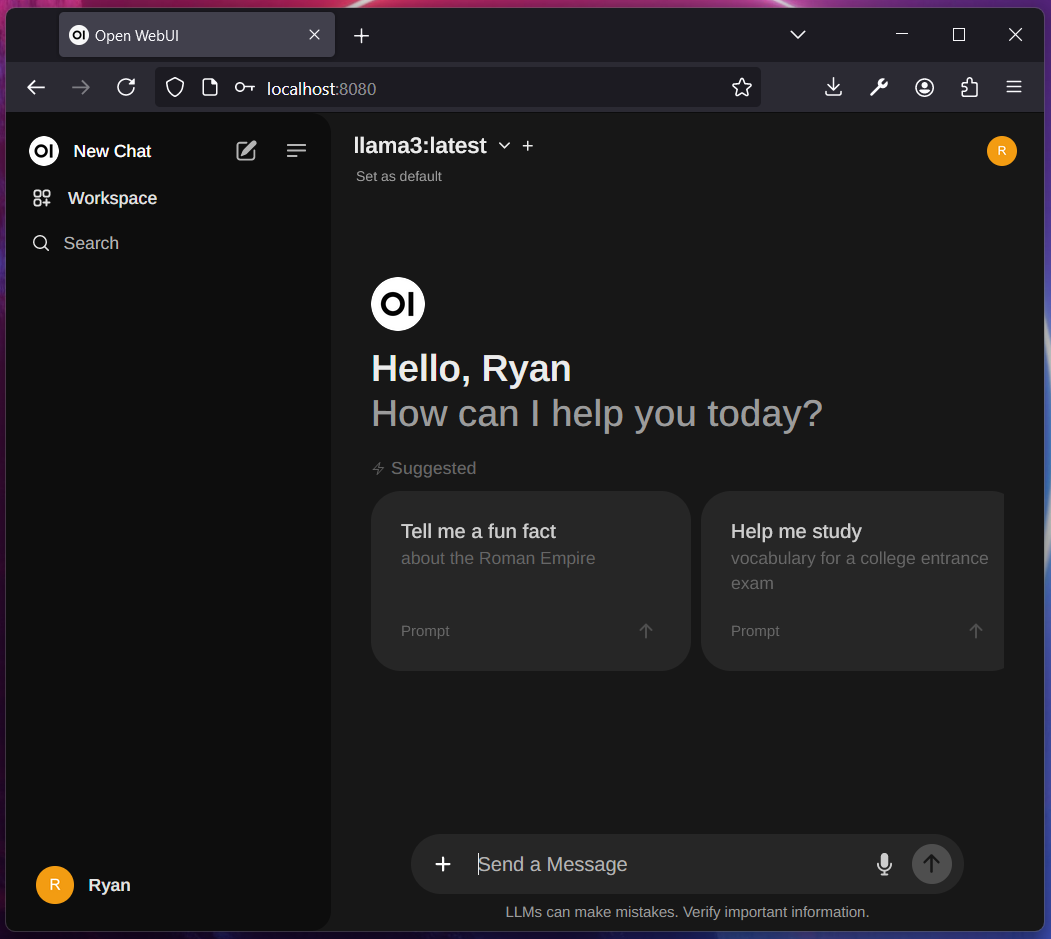
You should have Open WebUI up and running at http://localhost:8080/ 😄
Thanks for reading! If you found my post helpful, and since I don't have ads on my website why not support my work with a coffee 🍵